Introduction: Why DIY Pool Leak Repair Matters
Finding a leak in your pool can be frustrating and costly if left untreated. With the right approach, many common leaks are repairable by a confident DIYer — saving money and extending the life of your pool. This guide walks through practical detection methods, repair tips for different materials, and when to call a professional.
- Save money with informed, step-by-step repairs.
- Learn how to diagnose where the leak is coming from.
- Understand which fixes are temporary and which require pro help.
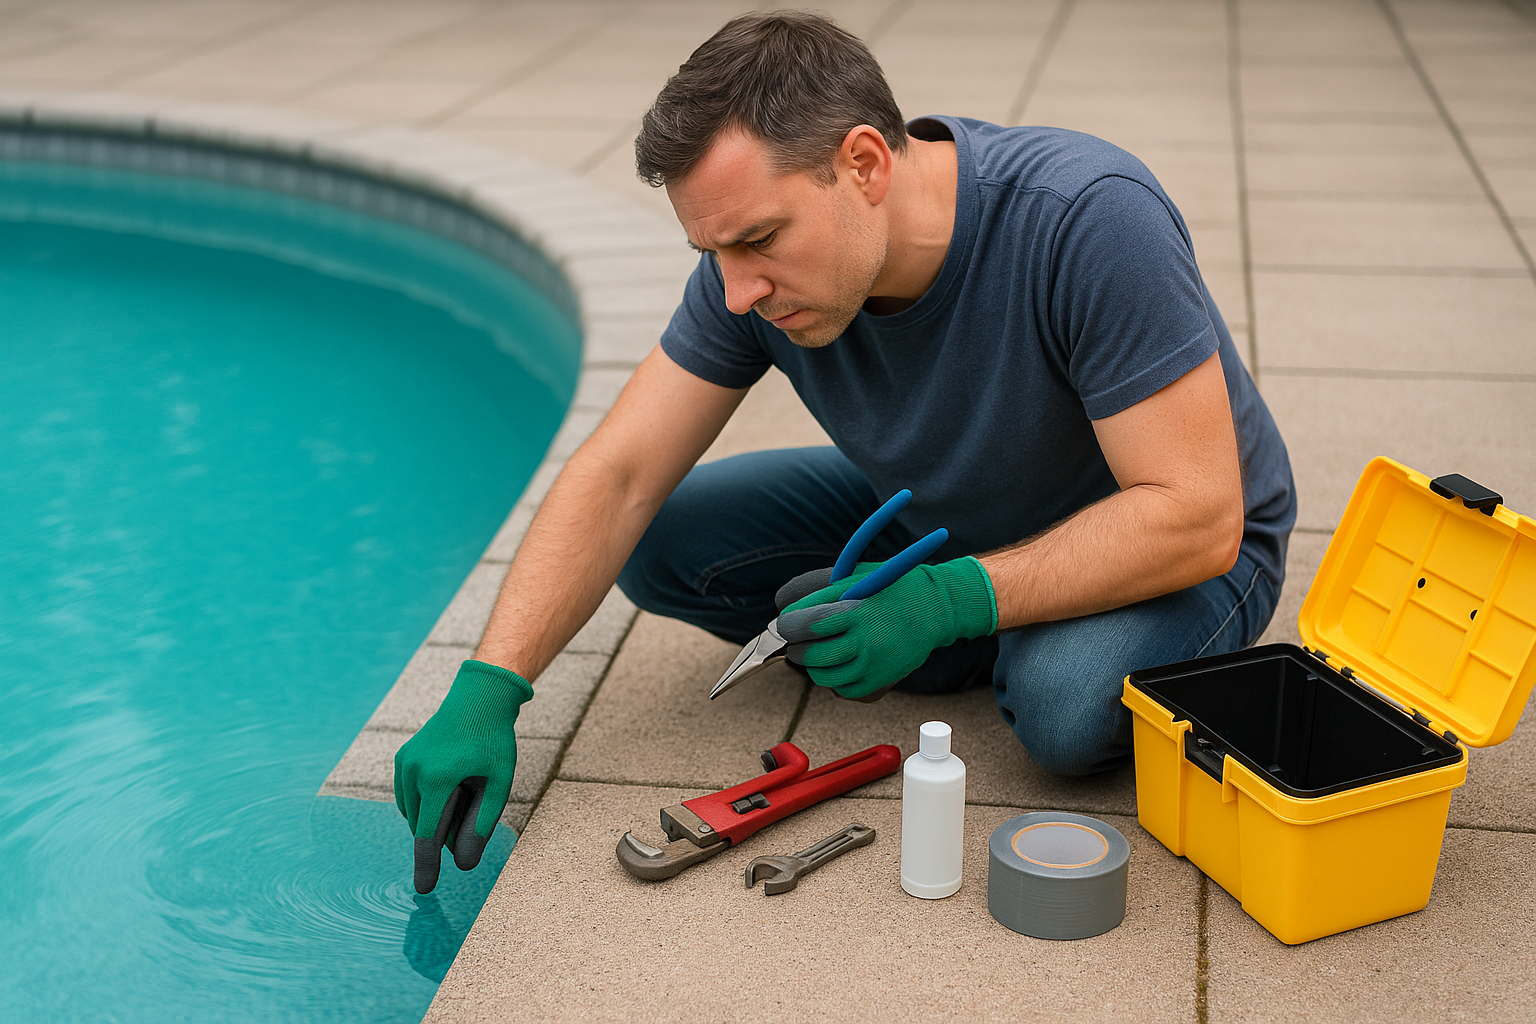
Safety First
Before any pool work, prioritize safety. Electrical equipment, deep water, and pool chemicals all pose risks.
- Turn off power to pool equipment at the breaker.
- Wear gloves and eye protection when handling adhesives and chemicals.
- If diving or working underwater, use a buddy system or professional diver.
How to Identify a Pool Leak
Accurate diagnosis prevents wasted effort. Start with basic tests and progress to targeted checks.
Bucket Test (Baseline Evaporation Check)
Place a bucket on the top step, fill to the same level as the pool, and run the pool as usual. After 24 hours, compare water loss in the bucket to the pool.
- If pool loses more water than the bucket, suspect a leak.
- If both drop similarly, evaporation may be the issue.
Visual & Dye Tests
Walk around the pool checking for cracks, wet dirt, or unusually green areas near plumbing. Use a dye test near suspected areas — a small stream of dye will be pulled into a leak.
- Test around skimmer throats, light niches, return fittings, and the liner seam.
- Do dye tests when the water is still for best results.
Equipment & Plumbing Checks
Inspect the pump, filter, heater, chlorinator, and visible plumbing. Sounds of running water when the system is off often indicate underground plumbing leaks.
- Look for wet ground, soggy areas, or low spots around equipment and pipes.
- Pressure testing the plumbing is a reliable way to locate underground leaks (may require rental gear or a pro).
Tools & Materials for DIY Pool Leak Repair
Gather these common supplies before attempting repairs to avoid delays.
- Patch kits specific to vinyl liners, underwater epoxy, and putty.
- Silicone sealant rated for pools, PVC primer and cement, replacement gaskets.
- Basic hand tools: wrenches, utility knife, plumber’s tape, sandpaper, and a pool brush.
Common DIY Repairs (Step-by-Step Tips)
Vinyl Liner Tears & Punctures
Small tears and punctures are the easiest to fix. For best results, patch from the inside of the liner whenever possible.
- Drain water below the tear or find the tear and apply an underwater vinyl patch for quick fixes.
- Clean and dry the area if you can remove water; use adhesive-backed patch material and press firmly, smoothing out bubbles.
- For seam separation, replace the liner or consult a pro — seam repairs are often temporary.
Skimmer & Return Fitting Leaks
Skimmer cracks and loose fittings are common and usually straightforward to fix.
- Turn off the pump and drain the pool below the skimmer level.
- Remove the faceplate, replace worn gaskets, and tighten or replace the skimmer housing screws.
- For cracked plastic, underwater epoxy or a replacement skimmer may be needed.
Plumbing & Underground Leaks
Plumbing leaks can be tricky. Surface-visible piping is relatively simple; buried lines may require pressure testing or excavation.
- For visible PVC leaks, cut out the damaged section and glue in a replacement using primer and cement.
- Temporary fixes include epoxy wraps or leak sealers, but these are stopgaps until a permanent repair is made.
- If you hear running water with equipment off, schedule a pressure test or call a specialist.
Testing a Repair
After fixing the suspected leak, test to confirm success.
- Refill to normal level and monitor water loss over 24–72 hours; repeat the bucket test for comparison.
- Run the pump and observe repaired areas for seepage. Re-test with dye if uncertain.
Prevention & Maintenance Tips
Regular upkeep reduces the chance of future leaks and extends the life of repairs.
- Keep water chemistry balanced to prevent liner and plaster damage.
- Inspect skimmers, fittings, and equipment seasonally.
- Trim trees and control landscaping to minimize root intrusion near plumbing.
When to Call a Professional
Some problems are beyond DIY scope or require specialized equipment.
- Large cracks in concrete or structural issues.
- Persistent underground plumbing leaks that need pressure testing or excavation.
- Extensive liner seam failure or cases where safety is a concern.
Conclusion
Many pool leaks can be found and fixed with patience, the right tools, and careful testing. Start with simple checks, make conservative repairs, and bring in a professional when the issue is complex or structural. With regular maintenance, you can minimize leaks and enjoy your pool longer.