Pool leak detection can seem like a daunting task, especially when dealing with a vinyl liner pool. However, it doesn’t have to be overwhelming. In this guide, let’s simplify the process and empower you with the knowledge to not only spot leaks in your vinyl liner pool but also perform a satisfactory pool leak repair with relative ease.
While doing your regular pool maintenance, you might notice falling water levels that can’t quite be attributed to the hot summer splashes or the routine backwash from your pool filter. This could very well be a signal of an insidious leak that’s begging for your attention.
Step-By-Step Pool Leak Detection
Detecting a leak in a vinyl pool liner generally involves two major steps. Performing a 24 on/off test to confirm the leakage and visually inspecting the vinyl liner for signs of damage.
The Bucket Test
The 24 on/off test is a simple yet effective pool leak detection method. It’s designed to discern between normal evaporation and actual leakage.
1. Fill a plastic bucket with pool water and mark the water level on the inside. Then, mark the pool’s water level on the outside of the bucket.
2. Leave the bucket on the pool step for at least 24 hours, making sure the pool’s water level and the water level in the bucket are the same.
3. After 24 hours, compare the two levels. If the pool’s water level has dropped more than the water inside the bucket, you likely have a leak.
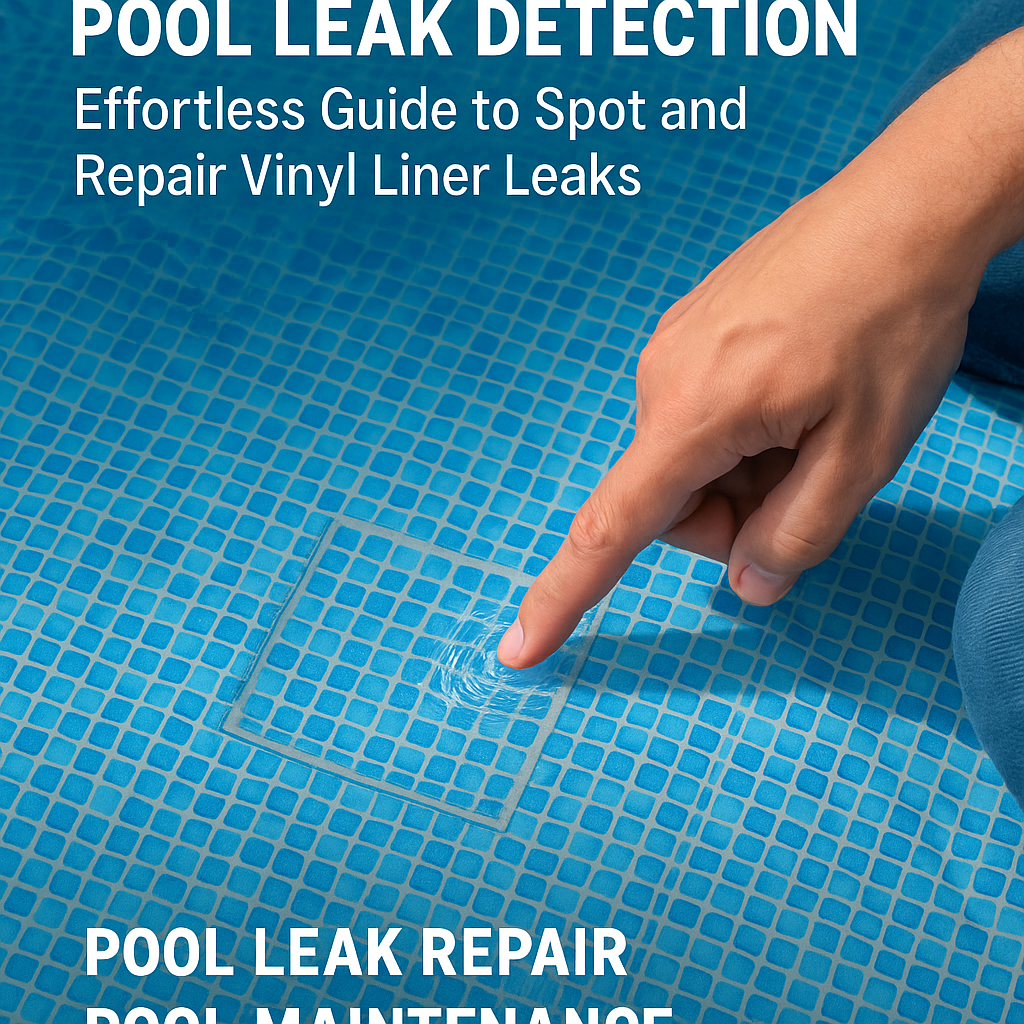
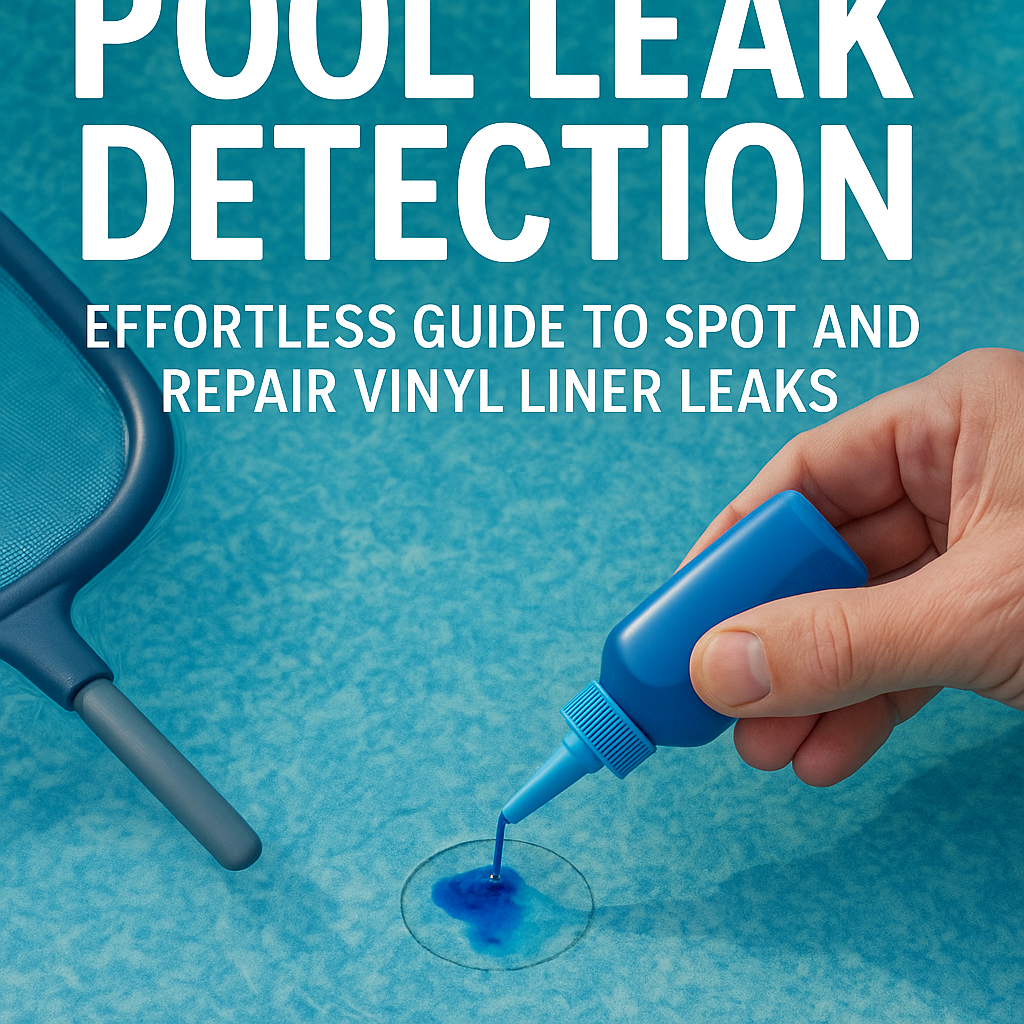
Visual Inspection
Seeing a disparity between the bucket water level and the pool level, there’s reason enough to believe you might have a leak. Next, it’s time to visually inspect your vinyl liner.
1. Turn off the pool pump to calm the water, making it easier to spot any leak points.
2. Begin at the spots where leaks are more likely, including around fittings, skimmers, returns, and corners.
3. Look for small tears, holes, or signs of wear. This might be where the water is escaping.
How to Repair Vinyl Liner Leaks
Now that you’ve spotted potential leaks, it’s time for pool leak repair. Repairing a vinyl liner isn’t as daunting as it might first appear; most repairs can be done underwater without the need to drain your pool.
Repair kits for vinyl liners are readily available at pool supply stores or online. These kits typically contain a piece of vinyl patch material and a special adhesive that works underwater. Here’s a simple how-to:
1. Trim a piece of vinyl patch large enough to cover the hole or tear, plus an extra inch all around.
2. Apply the adhesive to the patch.
3. Fold the patch over onto itself – adhesive side in – and take it underwater.
4. Next, unfold the patch under the water and apply it to the damaged area.
5. Smooth out the patch from the middle outward to remove any air bubbles.
Wait for at least 24 hours before you resume swimming or conducting any pool maintenance to allow the adhesive to dry properly.
When to Call a Professional
While many leaks can be easily detected and repaired, there are some scenarios where professional help might be necessary.
1. If your water level continues to drop despite a self-repair, the leak may be larger or more complex than initially thought.
2. In the case of numerous leaks, professional assistance may be warranted to ensure all points of egress are covered.
3. If the liner itself is old, brittle, or severely faded, it may be time for replacement rather than repair.
Pool leak detection and repair is a crucial part of overall pool maintenance. While it may be a bit intimidating at first, it’s certainly manageable with the right information at your fingertips. Just remember to act promptly, as untreated leaks can lead to serious structural damage over time. And when all else fails, know when to call in the professionals. Repairing your pool promptly not only saves you water and money but also extends the life of your pool so you can continue to enjoy those refreshing swims for many more summers to come.