Why pool leaks are so hard to find
Pool leaks can be deceptively difficult to locate. Water loss might be slow and intermittent, visible only after several days, or come from hidden plumbing systems buried under decking or concrete. Understanding why leaks are tricky helps you choose the right tools and approach, and prevents misdirected repairs that waste time and money.
- Leaks can be tiny and slow, producing subtle water loss over time.
- They may occur in concealed places like underground plumbing, fittings, or structural cracks.
- Evaporation, splash-out, and backwash can mask true water loss, creating misleading symptoms.
Common leak locations
Knowing the hotspots narrows your search and increases the chances of early detection.
- Pool shell: plaster, tile, or fiberglass surface cracks.
- Returns, skimmers, and main drains: failing gaskets, loose fittings, or hairline cracks.
- Equipment and piping: pump seals, filter housings, valves, and underground pipes.
- Light niches and plumbing penetrations: sealed areas that age and separate.
Factors that complicate detection
Several environmental and operational factors make it hard to isolate leaks quickly.
- Weather: rain can refill the pool and mask losses; wind increases evaporation.
- Pool usage: heavy use or watering nearby landscapes adds variables.
- Seasonal changes: soil movement and freeze/thaw cycles open new failures.
Methods to locate pool leaks
Use a combination of simple tests and, when needed, professional diagnostics. No single method is perfect; layered testing provides confirmation.
Visual inspection
Start with a detailed walk-around and underwater check if possible.
- Inspect visible plaster, tile lines, coping, and skimmer faces for cracks or gaps.
- Look for unusually wet ground, sinkholes, or vegetation thriving near the pool edge (signals underground seepage).
- Check equipment: oily marks, rust, or mineral buildup around joints and seals.
Dye testing
Dye testing is a low-cost, accurate way to find active leaks around fittings and small surface cracks.
- Turn off circulation so the water is still.
- Release a small amount of colored dye near suspected cracks or fittings; the dye will be drawn into the leak if present.
- Repeat systematically around skimmers, returns, lights, and visible cracks.
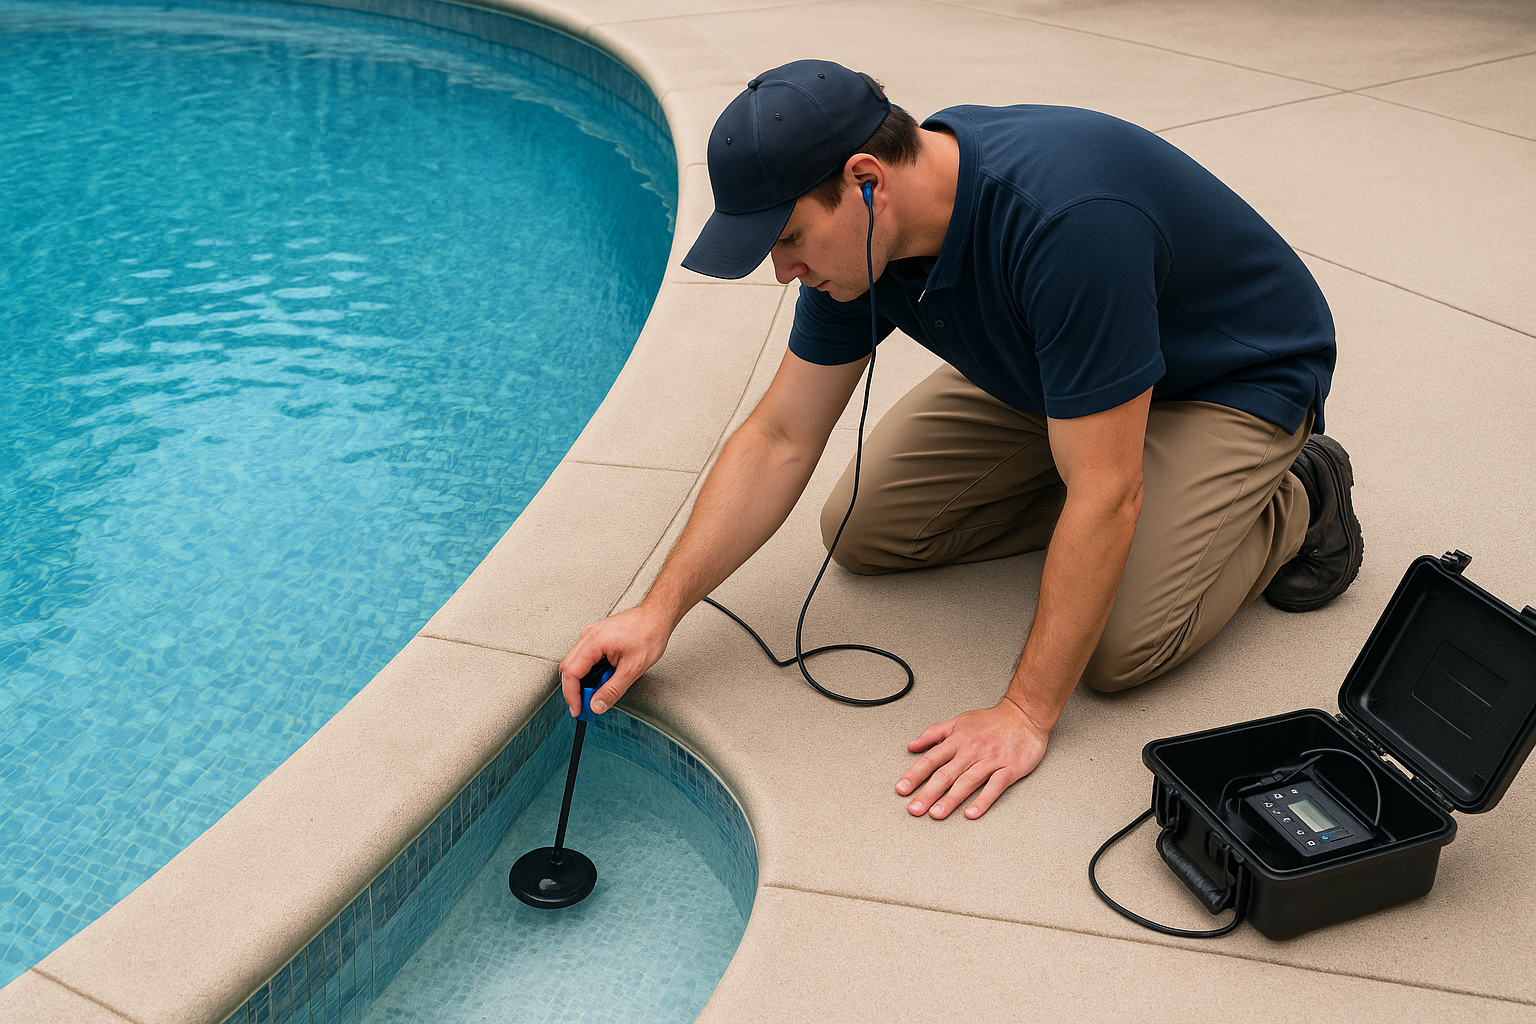
Pressure testing and electronic tools
Professional tools are often necessary for hidden leaks or underground plumbing failures.
- Pressure testing plumbing lines isolates whether pipes are losing air or water.
- Ultrasonic and electronic leak detection help trace the location without extensive excavation.
- Vacuum testing of light niches or skimmer leads can confirm leaks behind fittings.
DIY tips and precautions
Homeowners can perform several safe checks but should avoid invasive actions that risk further damage.
- Perform a bucket test to separate evaporation from real leaks: fill a bucket on a pool step and compare water loss in the bucket to the pool.
- Mark the waterline with tape to monitor loss over several days before assuming a leak.
- Avoid DIY patching of structural shells unless you’re experienced; improper repairs often fail and hide the real problem.
Steps for a basic dye test
Follow these steps to get reliable results from a dye test:
- Turn off the pump and let water settle for 15–30 minutes.
- Use a syringe or small bottle to release a small amount of dye near potential leak points.
- Watch for dye movement; if the dye is pulled into a crack or fitting, you’ve likely found an active leak.
- Document locations with photos and notes for a professional if needed.
When to call a professional
Call a licensed pool leak specialist when leaks are hidden, involve underground lines, or when you can’t locate the source after initial tests. Professionals have equipment to accurately diagnose and reduce repair scope and cost.
- Rapid or large water loss that outpaces evaporation.
- Signs of wet soil, sinkage, or structural movement near the pool.
- Repeated leak repairs that don’t hold or unclear leak sources after DIY tests.
Preventive measures to reduce future leaks
Routine maintenance and early intervention lower the chance of hard-to-find leaks down the road.
- Inspect equipment and visible plumbing twice a year and after storms.
- Keep water chemistry balanced to protect seals and surfaces.
- Address small cracks and failing fittings promptly before they grow into underground problems.
Conclusion
Finding pool leaks is often challenging because they can be slow, hidden, or masked by environmental factors. Start with careful visual inspections and dye tests, use a bucket test to rule out evaporation, and call a professional for pressure testing or underground leaks. A methodical approach saves time and money while protecting your pool investment.