
Understanding Pool Plumbing Leaks
Pool plumbing leaks can quietly waste water, damage landscaping, and increase chemical costs. Before you dive into repairs, it helps to understand what causes these leaks and how they present themselves. This foundational knowledge helps you choose the right repair method and decide whether to call a professional.
- Leaks may be in pipes, fittings, valves, or connections to equipment such as pumps and heaters.
- Age, ground movement, freezing, corrosion, and UV exposure are common culprits.
Common Causes of Pool Plumbing Leaks
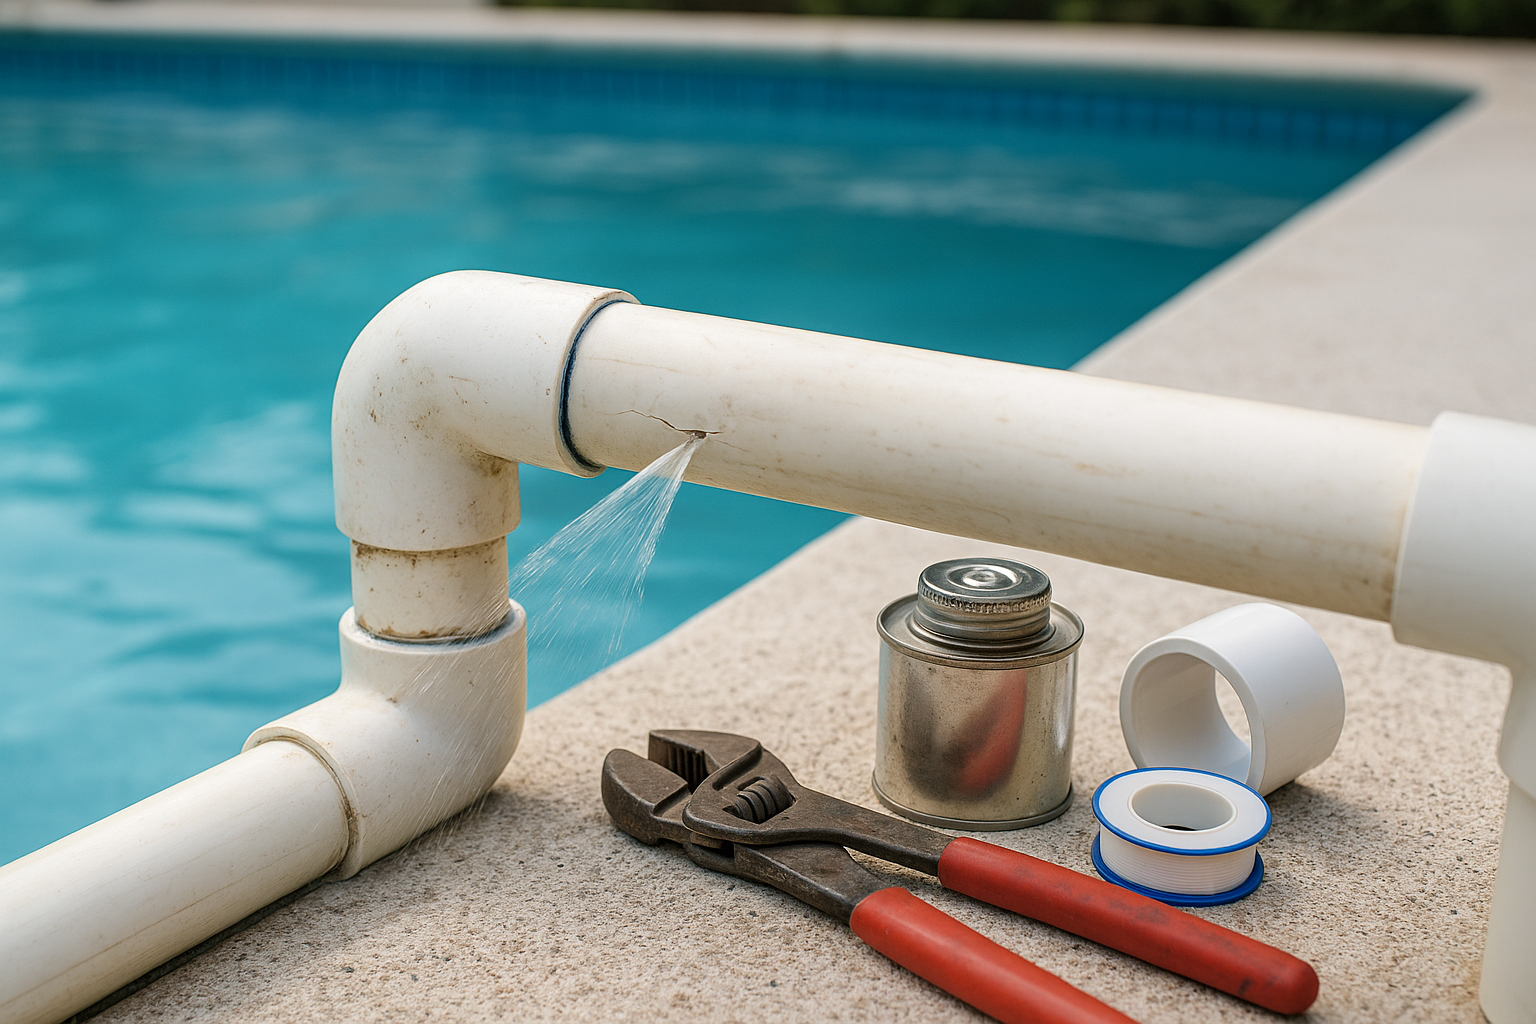
Knowing cause patterns speeds diagnosis. PVC joints, flexible hoses, and old O-rings are common failure points. Tree roots and shifting soil can put pressure on buried plumbing, causing cracks or separation.
- Cracked PVC or flexible hose deterioration from sunlight and chemicals.
- Loose or degraded unions, threaded connectors, and O-rings.
- Mechanical damage from landscaping, excavations, or freeze-thaw cycles.
Signs You Have a Plumbing Leak
Spotting a leak early reduces the scope and cost of repairs. Some signs are subtle, while others are obvious. Track water loss and watch for equipment behavior.
- Unexplained water loss when evaporation and splash-out are ruled out.
- Air in the pump strainer, pressure loss on the gauge, or noisy pump operation.
- Wet spots, unusually green grass, or sinkholes near the pool equipment pad.
Locating the Leak
Finding a plumbing leak requires a mix of observation, simple tests, and sometimes professional tools. Start with low-cost DIY checks and escalate if the leak remains elusive.
Bucket Test and Dye Testing
These simple tests help determine whether water loss is from the pool shell or plumbing. The bucket test isolates evaporation; dye testing reveals visible leaks in skimmers, returns, and around fittings.
- Bucket Test: Place a water-filled bucket on a pool step and compare waterline loss inside vs outside the bucket over 24 hours.
- Dye Test: Use pool-safe dye around suspected areas; slow dye movement toward a crack indicates a leak.
Pressure Testing and Listening
Pressure testing the plumbing identifies buried leaks. A professional or a knowledgeable DIYer will isolate lines and pressurize them with air or water while monitoring drop in pressure.
- Attach a pressure gauge and pump the isolated line to the recommended PSI; a drop indicates a leak.
- Acoustic listening devices and simple stethoscopes can help pinpoint noisy leaks underground.
Inspecting Visible Components
Check all accessible equipment: pump seals, filter unions, heater connections, and chlorinator fittings. Often the leak is near the equipment pad and can be repaired without excavation.
- Look for loose unions, worn O-rings, and corrosion around metal fittings.
- Check pump lids, strainer baskets, and multiport valve ports for hairline cracks or worn gaskets.
DIY Repair Options
Minor leaks can often be repaired by homeowners with basic plumbing skills. Prioritize safety, turn off electrical equipment, and depressurize lines before working on them.
Repairing Leaky Fittings and Unions
Tightening or replacing an O-ring, union, or gasket is a common fix. Carry spare O-rings and a small selection of PVC primer and cement for quick repairs.
- Replace degraded O-rings and lubricate with pool-safe silicone grease.
- For threaded fittings, use appropriate thread sealant or replace damaged threads with new fittings.
Fixing Pipe Leaks: Epoxy, Patch Kits, and Clamps
For small cracks in above-ground lines, two-part epoxy, fiberglass wrap kits, or stainless steel repair clamps can be effective temporary or permanent fixes.
- Clean and dry the pipe area before applying epoxy or wraps for best adhesion.
- Use a repair clamp sized correctly for the pipe diameter to stop larger leaks quickly.
When to Replace Parts
If damage is widespread, components are brittle, or multiple repairs fail, replacement is the safer long-term option. Replacing segments of PVC or faulty equipment prevents repeat leaks.
- Replace pipes with visible cracks, multiple repairs, or advanced PVC degradation.
- Consider upgrading older equipment (pumps, heaters, valves) to modern, more reliable models.
Professional Repair Methods
Some leaks require professional intervention—especially buried or complex systems. Pros use specialized diagnostic tools and methods to minimize disruption and ensure lasting repairs.
Video Pipe Inspection (CCTV)
Video inspection cameras can be fed into pipelines to locate fractures, root intrusion, and blockages precisely, reducing guesswork and excavation.
- Provides visual confirmation of leak location and pipe condition.
- Helps plan the least invasive repair strategy.
Excavation vs Trenchless Repairs
Open excavation exposes the pipe for repair but can damage landscaping. Trenchless solutions such as pipe bursting or cured-in-place pipe (CIPP) lining replace or relines the pipe with minimal surface disruption.
- Excavation: direct repairs, suitable for accessible areas.
- Trenchless: reduces landscaping damage and often faster for long runs.
Reassembly and System Testing
Professionals will pressure-test and chemically balance the system after repair, ensuring the leak is sealed and the pool equipment runs safely.
- Final pressure tests confirm success before backfilling.
- Equipment checks prevent operational issues once the system is back online.
Preventative Maintenance to Avoid Future Leaks
Routine maintenance extends the life of your pool plumbing and lowers the chance of sudden leaks. Create a seasonal checklist and address wear early.
- Inspect unions and fittings every season; replace O-rings and lubricate them annually.
- Monitor water levels, pump pressure, and unusual noises continuously.
- Protect exposed pipes from UV and freezing with insulation or heat tape where needed.
Conclusion
Pool plumbing leak repair ranges from simple DIY fixes to specialized, professional interventions. Start with careful diagnosis, apply appropriate repairs, and invest in preventative maintenance to keep your pool efficient and leak-free.