
A pool naturally loses some water to evaporation, especially during hot, dry, or windy weather. But if the water level keeps dropping faster than expected, you may have a leak. The best way to detect a pool leak is to start with a simple bucket test, then inspect the pool and its equipment for clues. These steps can help you distinguish normal water loss from a leak and decide when it is time to call a pool professional.
How to Tell If Your Pool Is Leaking
Water loss alone does not prove there is a leak. Heat, wind, low humidity, and frequent swimming can all increase evaporation or splash-out. A steady, unexplained drop—particularly when the pool is not being used—deserves a closer look.
- Check whether you need to add water more often than usual.
- Look for wet areas, soft soil, or unusually lush patches around the pool.
- Notice whether the water level consistently falls to the same point.
- Watch for air bubbles in the return lines or changes in pump performance.
The Bucket Test: The Best First Step
The bucket test is an easy way to compare pool water loss with evaporation. It does not locate a leak, but it helps show whether the pool is losing more water than the surrounding air and weather would explain.
How to Perform the Bucket Test
- Fill a clean bucket with pool water and place it on a pool step. Keep the top above the waterline and weigh it down if needed.
- Mark the water level inside the bucket and the pool water level on the outside of the bucket.
- Turn off automatic water features, and avoid swimming during the test.
- After 24 hours, compare how far each level has fallen. For a clearer result, repeat the test for another day.
If the pool level drops about as much as the bucket level, evaporation is a likely explanation. If the pool loses noticeably more, a leak may be present. Repeat the test during similar weather conditions for a more useful comparison.
Check Whether the Leak Is in the Pool or Plumbing
If the bucket test points to a leak, compare water loss with the pump running and with it turned off. Follow your pool manufacturer’s guidance and do not leave a pump off if doing so could damage equipment or affect water quality.
- More loss with the pump running: The leak may be in the pressure-side plumbing, filter system, heater, or return lines.
- More loss with the pump off: The issue may be in the pool shell, skimmer, or suction-side plumbing.
- Similar loss in both conditions: The leak may be in the pool itself, though this comparison is not conclusive.
These observations help narrow down the possibilities, but they cannot identify every hidden plumbing problem. Avoid opening electrical equipment or dismantling pressurized pool systems; a qualified technician can test them safely.
Inspect the Pool and Equipment
With the pump off and the surrounding area dry, look for visible signs of water escaping. Check the pool equipment while it is operating only from a safe distance, and never touch wet electrical components.
- Inspect the skimmer opening, return fittings, lights, drains, steps, and visible seams for cracks or gaps.
- Look around the pump, filter, heater, valves, and exposed plumbing for drips or damp ground.
- Check the filter’s waste or backwash line for a steady flow when the system is not being backwashed.
- Note whether the water stops dropping when it reaches a particular fitting or feature.
A leak near the skimmer or a return can be difficult to see because water may travel behind the pool surface. Damp soil is useful evidence, but underground pipes can also leak without leaving an obvious puddle.
Use a Dye Test for a Suspected Surface Leak
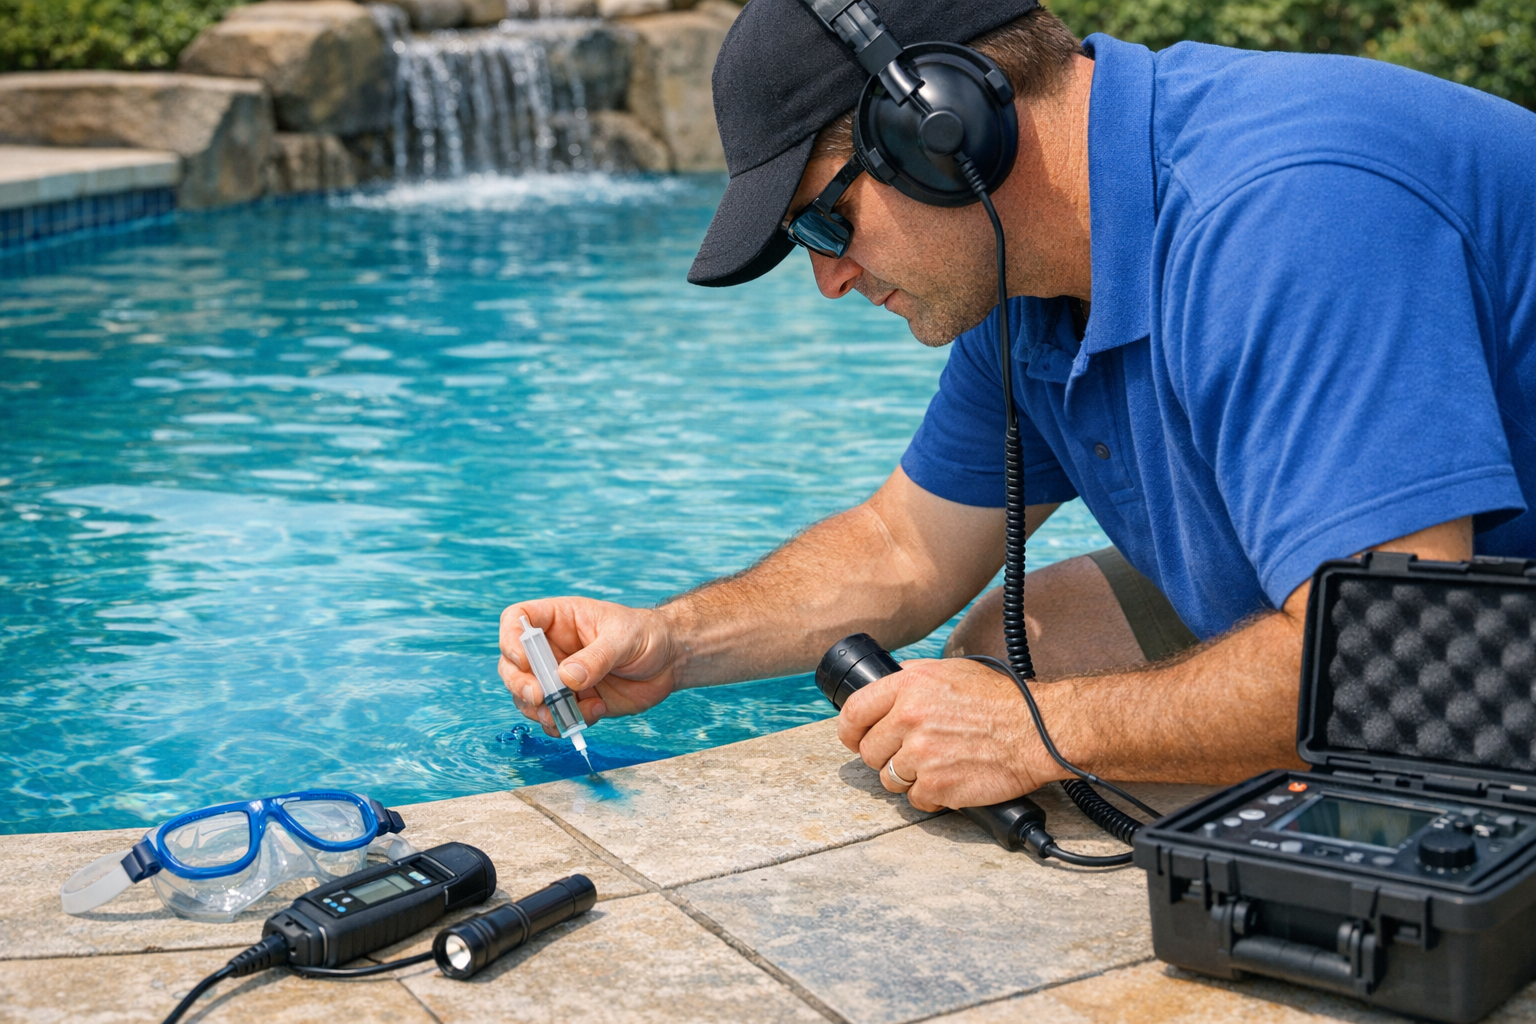
A dye test can help locate a small leak near a crack or fitting. Use pool leak-detection dye, or another suitable dye product, and test when the water is calm. Turn off the pump so water movement does not disperse the dye.
- Move slowly underwater toward the suspected area.
- Release a small amount of dye close to the crack, fitting, or seam without stirring the water.
- Watch to see whether the dye is drawn toward a specific spot.
- Test one area at a time and record any results.
If the dye moves steadily into a gap, that spot may be leaking. A negative result does not rule out a leak, especially if the source is hidden or the water is moving. Do not use dye near a drain unless you can do so safely and follow product instructions.
When to Call a Pool Leak Professional
Consider professional help if the water loss continues, the source is not visible, or the problem appears to involve underground plumbing. Specialists can use pressure testing, listening equipment, and other diagnostic methods to pinpoint leaks without unnecessary digging.
- Arrange an inspection if the pool is losing several inches of water in a short period.
- Call sooner if you notice sinking ground, a growing crack, or water near electrical equipment.
- Share your bucket-test results and notes about pump-on and pump-off conditions.
Finding a leak early can help limit water waste and prevent damage to the pool structure or surrounding property. Keep the water at a safe operating level while arranging repairs, and follow a professional’s advice if the level is approaching the skimmer or equipment intake.
Conclusion
The best way to detect a pool leak is to begin with a bucket test, then use visual checks and pump-on versus pump-off comparisons to narrow down the source. A dye test may reveal a small surface leak, while hidden plumbing issues usually need professional testing. Acting on the first signs can make diagnosis and repairs simpler.