
A leaking inground pool can waste water, raise your utility bill, and potentially damage the surrounding soil or pool structure. The good news is that some leaks come from simple, accessible components, such as a loose fitting or a worn skimmer seal. The key is to confirm that water is actually escaping, narrow down the location, and choose a repair that suits the problem.
Use the steps below to investigate a pool leak safely. If the leak appears to involve buried plumbing or the pool shell, a qualified pool professional can help prevent a small problem from becoming a major repair.
Confirm That Your Inground Pool Is Leaking
Pool water naturally disappears through evaporation, especially in hot, dry, or windy weather. Before buying repair products, compare your pool’s water loss with normal evaporation.
Try the bucket test
Place a bucket on a pool step and add pool water until the water inside the bucket is close to the level of the pool water outside it. Mark both levels. Turn off automatic fill systems, then leave the pool undisturbed for about 24 hours. Compare the marks: if the pool level falls noticeably more than the bucket level, a leak is more likely.
- Repeat the test on a calm day for a clearer comparison.
- Account for splashing, backwashing, and water features, which can affect results.
- Check that the autofill valve is not masking water loss by continually adding water.
Locate the Source of the Leak
Once a leak is likely, observe when the water drops and inspect visible areas. The level where the water stops falling can offer a clue: a consistent stopping point may indicate a leak near that elevation. This is useful information, but it does not confirm the exact location.
Inspect the pool and equipment
Look closely at the pool shell, steps, lights, skimmer, return fittings, and visible plumbing around the equipment pad. Watch for cracks, loose fittings, damp soil, or water dripping from the pump, filter, or valves. A pool may lose more water while the pump is running if a return-side pipe or fitting is leaking.
- Check the equipment pad while the pump is on and again when it is off.
- Look for unusually wet ground or settling near underground plumbing routes.
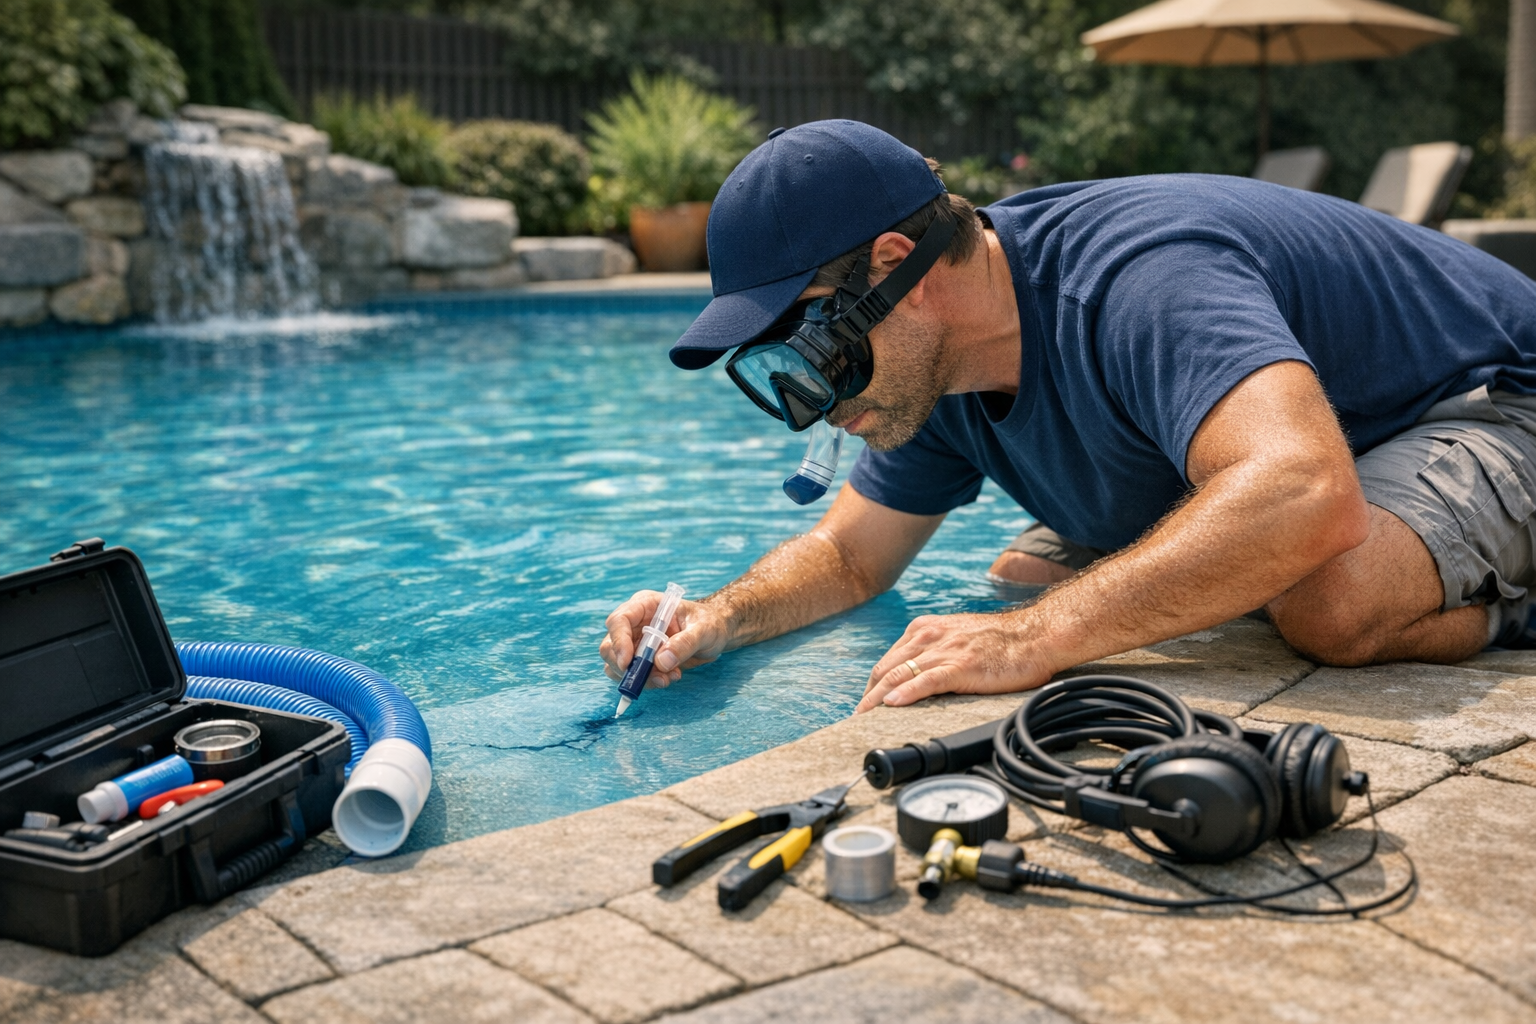
- Use pool-safe leak-detection dye near a suspected crack or fitting, with the pump off and water still. Dye moving toward a spot can help identify escaping water.
Avoid reaching into drains or placing yourself near suction openings. If you cannot safely access a suspected area, leave the inspection to a professional.
Fix Common, Accessible Pool Leaks
The right repair depends on the pool surface and the leak location. Follow the product instructions and confirm that any patch or sealant is compatible with your pool finish. Do not apply a quick fix to a structural crack without understanding why it formed.
Repair a skimmer or fitting leak
If the leak is around a skimmer faceplate, return fitting, or light niche, the seal or gasket may be worn or loose. Some fittings can be resealed with a pool-rated product, while others require a replacement gasket. Turn off the pump and follow the equipment or product instructions before working. Never overtighten plastic fittings, as they can crack.
- Use sealants specifically labeled for the pool surface and underwater conditions.
- Replace damaged gaskets rather than layering sealant over a failing part.
- Allow the recommended curing time before restarting equipment or refilling the pool.
Patch a small shell leak
For a small, clearly identified leak in a concrete, fiberglass, or vinyl pool, a compatible underwater patch kit may provide a repair. Clean the area as directed, apply the patch carefully, and give it enough time to set. Vinyl liners need a vinyl-specific patch; a product intended for concrete may not bond properly.
A patch is not a substitute for investigating a crack that is growing, shifting, or accompanied by uneven surfaces. These signs may point to movement or a structural issue that needs expert assessment.
When to Call a Pool Leak Professional
Some leaks are difficult to find without specialized equipment. A pool leak technician may use pressure testing, acoustic tools, or cameras to check plumbing lines and identify the source with less unnecessary digging.
- Call for help if the pool continues losing water after accessible repairs.
- Get a professional inspection for suspected underground plumbing leaks or structural cracks.
- Seek advice if the pool is losing water rapidly or nearby ground is sinking or becoming saturated.
- Check warranty terms before attempting repairs that could affect a liner, finish, or installed equipment.
Keep water at a safe level while arranging service. In particular, avoid letting the water fall below the skimmer for extended periods, since the pump may draw air and become damaged. Do not drain an inground pool without professional guidance; groundwater pressure can cause serious damage to some pools.
Prevent Future Pool Leaks
Regular checks can catch small problems before they lead to significant water loss. Include the pool shell and equipment in routine maintenance, especially after freezing weather, heavy storms, or nearby construction.
- Inspect visible fittings, valves, and equipment for drips or corrosion.
- Keep water chemistry balanced to help protect pool surfaces and components.
- Watch for recurring wet spots, changes in water level, or unexplained increases in water use.
- Address small cracks and worn seals promptly, using materials made for your pool type.
Conclusion
Fixing an inground pool leak starts with confirming water loss and carefully checking likely trouble spots. Simple gasket or fitting issues may be manageable, but buried plumbing and structural problems call for professional diagnosis. A timely, compatible repair can protect your pool and help keep water where it belongs.